If your Honeywell thermostat isn’t operating correctly, you should consider changing the battery packs. You should perhaps inspect the wiring to ensure that there is no wiring problem.
If everything else ultimately fails, you could restore your thermostat to its default settings. Check the troubleshooting tips and tricks below to learn further about how to fix Honeywell Thermostat and get the most out of it!
If Your Honeywell Thermostat Not Working Properly, Try These 5 Solutions
We’ll go over some of the most frequently cited reasons why a Honeywell thermostat isn’t working as well as how to restore it.
Based on the problem at hand, there are numerous different remedies. Try a couple of these tips and see whether the thermostat begins to behave properly!
It could be able to assist you in getting the thermostat operating properly.
Batteries must be replaced.
You should begin with the most straightforward and obvious option. It’s possible that your thermostat isn’t working since the batteries have died.
If you have a Honeywell thermostat that runs on batteries, you should replace them with a new pair.
Prior to actually replacing the batteries, cut off power to the thermostat at the circuit breaker. Remove the thermostat off the wall plate after that.
The batteries in the thermostat should then be exposed. Take out the expired batteries and replace them. Make certain that you use the correct size batteries and that they are inserted correctly.
Replace the thermostat on the wall plate after you’re ready. Then, restart the thermostat and see whether it responds. If it does, you’ve fixed that problem.
Examine the Air Filter
There also is a potential that the thermostat isn’t switching on because the air filter isn’t working properly. If the air filter is blocked, the air will not flow properly via the vents.
As a consequence, your air conditioner would not perform correctly, resulting in a malfunctioning thermostat.
If the air is not flowing properly, the thermostat will not produce an accurate measurement. This will have an effect on when the thermostat goes on and when it will not.
If you prefer your thermostat to switch on and your power costs to below, you must clean and change your air filters on a frequent basis.
Depending on how long your air conditioner operates, you should replace your air filters once every few months or even a year. If you are not comfortable cleaning or replacing your filters, you should seek expert assistance.
Examine the breaker
If the Honeywell thermostat just does not switch on, check the circuit breaker. Next, check that the thermostat is receiving electricity.
If the thermostat is not receiving electricity, this would be the cause of its malfunction. To reconnect power to the thermostat, you could try turning the circuit breaker.
Watch for a click once you’ve done so. Check the circuit breaker again if the thermostat never switches on. The circuit breaker gets overworked if the electricity is turned off.
You may also need to rearrange your gadget connections to prevent the circuit breaker from triggering. If that’s the issue, you should seek the assistance of a professional.
Look for any connectivity issues in the wiring.
If you’re still having problems with the Honeywell thermostat, check the connections. The Honeywell thermostat may not even have adequate electricity if the cabling is unsecured.
Replace the thermostat’s faceplate to inspect the cabling. The main wires should be exposed once you lift the faceplate. Next, examine the white and red wire.
When you interconnect these two wires, the thermostat will turn on. If you are unsure, you should seek the assistance of an electrician.
When working with wires, you must take the necessary protective measures. For example, if you detect sparking, you should be using protective goggles to shield your eyes.
You should also wear gloves to protect yourself from getting electrocuted.
The thermostat must be turned on after the cables are connected. If the thermostat activates, there is an issue with the thermostat’s programming.
Ascertain that the thermostat is set to the appropriate temperature. This might be the cause of the system’s malfunction.
If you connect the connections and the thermostat still does not switch on, there is a problem with the wiring. If you have an issue with your wiring, you should call a professional electrician.
Working with main wires may be hazardous, and you must always prioritize safety.
Restore Factory Settings to The Thermostat
You might also try resetting your Honeywell thermostat to factory default settings to see if that helps. However, the specific actions you must take to reset the thermostat to default settings may differ based on the thermostat you own.
The objective is to clear any faulty data from your Honeywell thermostat by resetting it to default settings. In that manner, it should behave as if it is brand new.
To begin, you should examine the type of Honeywell thermostat you own. Afterward, follow the instructions below to return your thermostat to its normal settings. The steps are as follows:
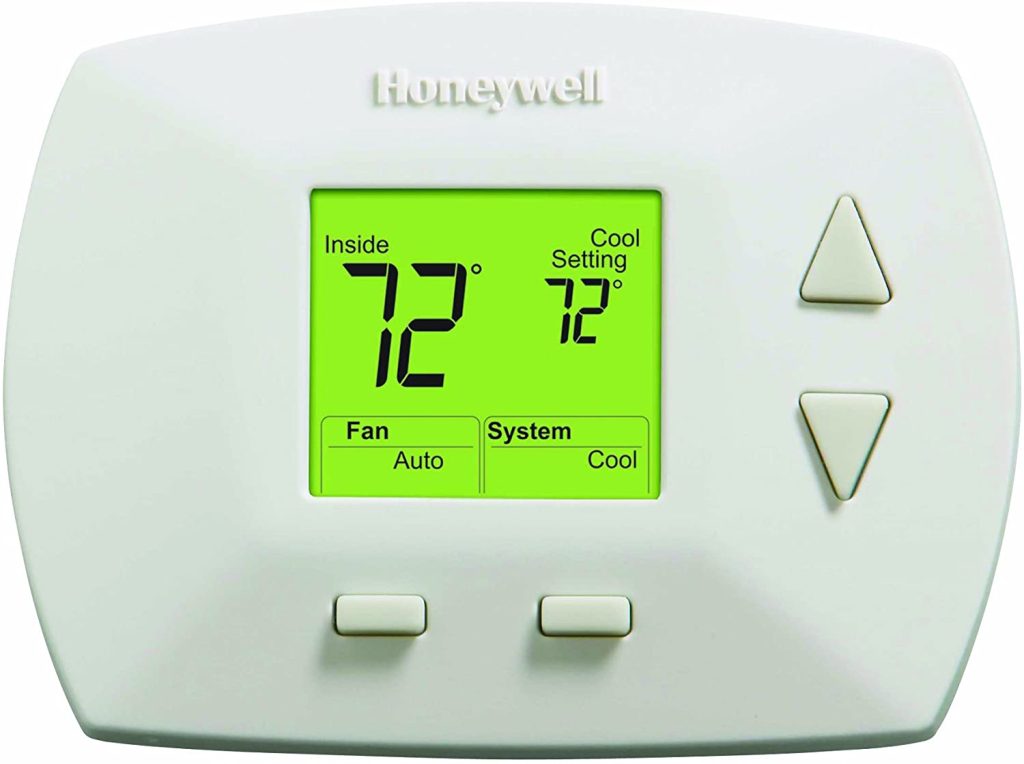
Honeywell 4000 Series:
- If the thermostat is part of the Honeywell 4000 Series, ensure it is turned on.
- Look for the “Program” button.
- Press down the button for a couple of seconds. You might have to use a clip, a nail, or a similar sharp-pointed instrument.
- Keep in mind you don’t turn the thermostat all the way up.
- Release the button after many seconds of holding it down. The thermostat should be returned to its factory default settings.
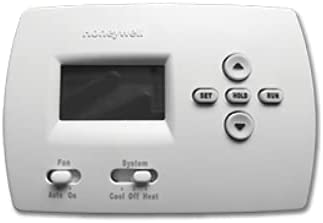
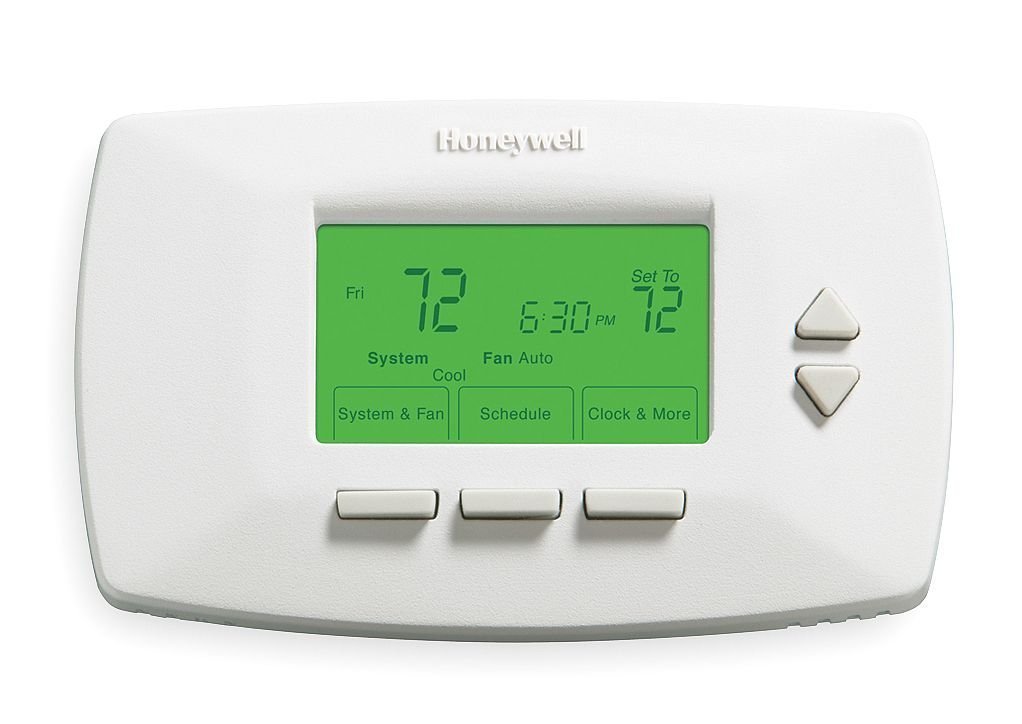
Honeywell 6000 Series:
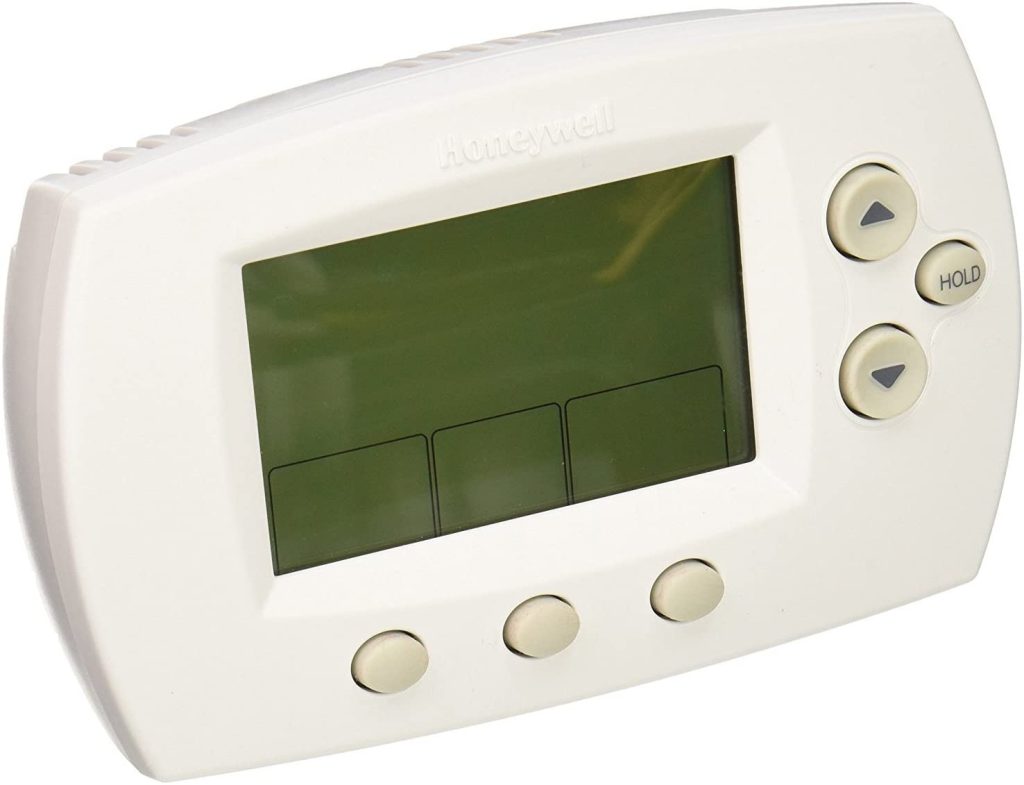
- If your thermostat is from the Honeywell 6000 Series, ensure it is switched on.
- Hold down the “Fan” and “Up” arrow buttons at the same time.
- Hold for about 5 seconds, and then just let go.
- Push the bottom-left key till you see “39” on the screen.
- Use the down arrow buttons to set the value to “0” Lastly, hit the “done” button to reset the thermostat.
Honeywell 7000 Series
If your thermostat is from the Honeywell 7000 Series, you must switch it off. The product’s power should then be turned off.
You should notice two distinct batteries when you disconnect the thermostat off the wall plate. For about 5 seconds, detach them and replace them in the other direction.
Finally, reassemble the batteries in the proper order. The screen should light up. Reset the thermostat by restoring electricity to it.
Honeywell 8000 Series
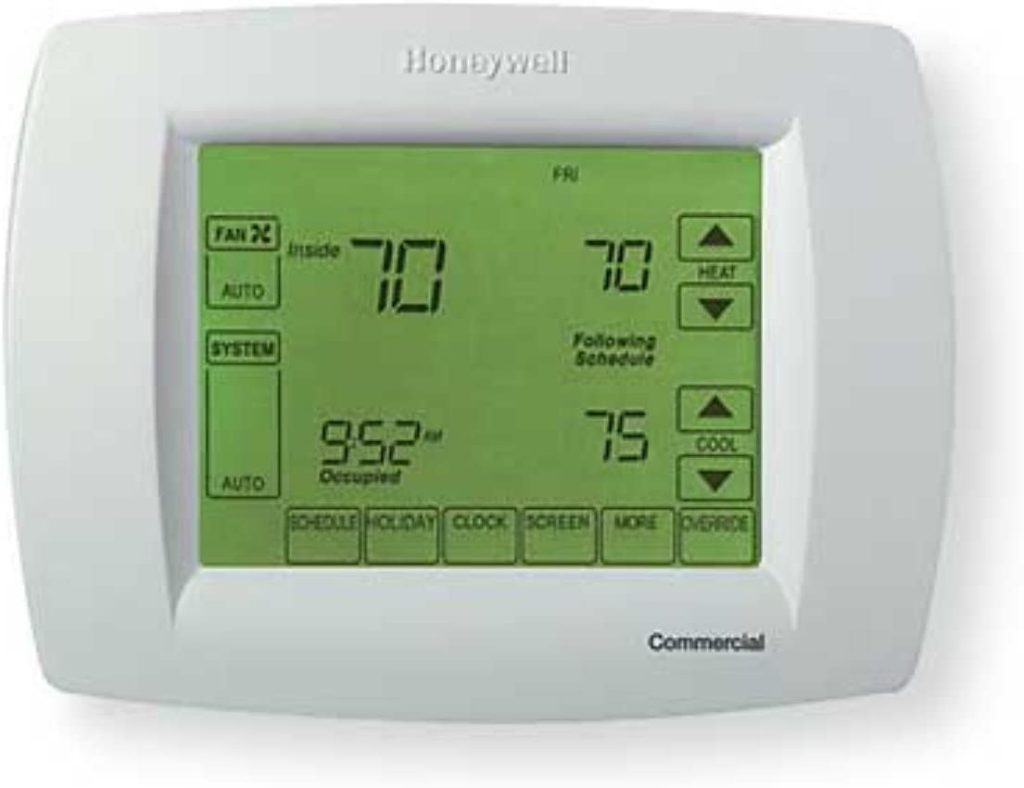
If you have Honeywell 8000 thermostat, tap the display’s “system” key.
Next, in the center of the display, hold down the blank button. Push it down for about 5 seconds. There will be a “reset to factory settings” option.
If you select this option, the thermostat will be restored to factory default settings.
If you complete these procedures, your thermostat should be reset to factory defaults. This may be sufficient to flush any malicious files from the system, enabling it to function normally once more.
How to Troubleshoot Three Frequent Thermostat Issues
When your thermostat fails, you may believe your HVAC system is corrupt. However, you may be able to save money by learning some simple thermostat troubleshooting techniques rather than hiring an HVAC specialist. Here are three frequent thermostat issues and how to check them.
The HVAC system abruptly stops working.
If the thermostat’s screen is black, it might be due to a power outage. First, replace the batteries, after which check the electrical panel for a damaged fuse or a failed breaker.
If the thermostat still isn’t responding, turn off the breaker and unscrew the faceplate. If it appears dirty on the inside, use a soft paintbrush to remove any deposited dust that may be interfering with its operation.
Finally, check for loose wire or terminal connections and secure them. Replace the thermostat if the wiring seems to be rusted.
Thermostat settings and room temperature are not in sync.
Dirty thermostat components can cause this problem, therefore clean the interior first as described above. In addition, a sudden shock can knock a non-digital thermostat off balance, resulting in configuration and temperature disparities.
To correct it, set a carpenter’s level immediately above the gadget and make adjustments to it until it’s level once more.
If you use a mechanical thermostat, another possible cause is a jammed anticipator. Find the arm that’s linked to the circular dial and try to push it in either direction to free it.
If these adjustments do not work, think about changing the placement of the thermostat. It may have to be relocated if it is near heat sources, direct sunshine, draughts, or positioned distant from the central living rooms.
Non-stop HVAC operation or short cycling
An out-of-whack or unclean thermostat can cause this. Therefore first, address those concerns. An incorrectly calibrated anticipator is also another option.
You might well be able to extend the cycle by moving the anticipator lever one slot at a time toward the term “long” on the clock. But if that doesn’t help, it might be advisable to invest in a programmable thermostat.
What does it mean when my Honeywell thermostat flashes “cool on”?
Among the function modes that your Honeywell thermostat regulates is the “cool on” light.
The “cool on” mode is identical to the “heat on” setting because it simply indicates that the thermostat is turning on to cool your property.
For short time periods, you should expect your thermostat to flash “cool on.” This does not necessarily entail that the thermostat is malfunctioning. Instead, this is a thermostat-installed safety feature that protects the compressor.
The “cool on” function allows the system to operate its way through its parts in order to complete its task. It could also flash if there is a power outage.
Troubleshooting
Reduce the temperature on the thermostat.
One of the simplest repairs is to see whether your thermostat can manage the temperature in your home. Reduce the thermostat to the lowest level and wait an hour or two to see whether the temperature changes.
Of course, it’s possible that the system just needs to calm down.
Check to see whether your Honeywell thermostat is configured to “cool” mode and the fan is adjusted to “auto.” Reduce the temperature on the thermostat to the lowest setting feasible.
Look to check whether the home’s temperature has changed after it has been set to do its course.
Is the thermostat in setup mode, or is the clock set?
A power outage is one condition that might trigger your Honeywell thermostat to signal “cool on” repeatedly. If you’ve just returned from a trip and observed that the thermostat is blinking “cool on” over and over, it’s possible that this is what occurred.
There’s no reason to be concerned! The only issue this indicates for your thermostat is that this has been reset.
The “cool on” light may blink at you constantly as a result of this. This issue should be resolved once you’ve reset your thermostat.
It’s also a good idea to double-check the thermostat’s time options to make sure they aren’t switched off. This might possibly be a reason why your Honeywell thermostat isn’t operating properly.
Examine the batteries in the thermostat.
If the thermostat’s battery packs aren’t charged enough, it may not be equipped to function correctly.
For example, if the batteries aren’t charged, it probably wouldn’t be enabled to heat or cool your property! Fortunately, this is a simple enough repair.
All you have to do is replace the thermostat’s batteries.
Check to check whether the “battery low” indicator is blinking on the screen. You now have about two months from the time your thermostat begins to flash this warning before the electricity goes off.
This might be the problem if you detected a flashing light prior to noticing the “cool on” light blinking.
Have a battery-free thermostat that works on 24 VAC? The wiring must next be examined. You must do so carefully or risk electrocution. Always remember to turn off the system completely before proceeding.
You may disconnect the thermostat from the wall if there is no electricity running to it. To achieve this, you’ll have to remove it from the wall.
Inspect the C-wire on the thermostat to make sure it’s working. It’s recommended to call an electrician for assistance if you’re not certain how to examine the wiring.
How to Repair a Honeywell Thermostat That Isn’t Cooling Down
There are several reasons why a Honeywell thermostat may not be cooling down. Inadequate thermostat placement, for instance, can lead to a faulty cooling system.
A couple of these causes are discussed in this section. We next provide troubleshooting methods and solutions to various cooling concerns.
First, we look at what faults occur within the thermostat body. Afterward, we will discuss furnace / HVAC concerns, which can also lead to insufficient cooling.
Reasons Why Your Honeywell Thermostat Isn’t Cooling Your Home
The thermostat has been frozen.
Problem
A flash of high voltage close to the thermostat can occasionally cause the touchscreen display to stall on smart thermostats. A voltage spike in the facility’s power circuit can also have this effect.
The data displayed on the screen is also not constantly updated. In addition, the cooling system may also be turned off. The HVAC system may not turn on at all, regardless of how distant the room temperature is from being adjusted.
Fixes
Reboot the Honeywell thermostat if it is not cooling down. Switch off the thermostat for 10 to 20 seconds. Afterward, switch it back on. Certain smart models make this simple since they can be disconnected from the furnace supply.
Gently unlatch them from respective wall plates. Now, wait a couple of seconds before reconnecting them to reboot.
Alternatively, if your thermostat somehow doesn’t easily detach from the wall, switch it at the breaker box. You could cycle the power supply to the entire heating system by turning it off. This also power cycles the thermostat, rebooting it.
Thermostat Power Outage
Problem
The display of a smart thermostat seems to be blank or black. There are no data or status updates displayed. Furthermore, the condenser does not operate. Furthermore, there is no buzzing from the HVAC unit.
On modern non-programmable thermostat designs, there might be no sign of power failure other than the fact that their backlights do not flicker.
However, the impact remains the same. That is, regardless of the thermostat preset, the HVAC system doesn’t cool at all.
Fixes
Typically, Honeywell thermostats are powered by the furnace or HVAC unit. As a result, ensure that all components of the system are powered.
Typically, one circuit breaker powers the furnace, and another one that powers the outdoor unit. So double-check that none of these have triggered.
Check to see if the heat is working. Distinct circuit breakers frequently power heating and cooling components. As a result, the thermostat could be powered by either, but not both.
A power outage in either system might result in the Honeywell thermostat inadequately cooling the property. You’ve cleared out this reason for the thermostat power outage by ensuring that the heat runs. As a result, a defective heating system might cause the cooling system to fail as well.
Furthermore, confirm that the cooling system works as it would with the heat before. The cooling circuit may supply electricity to your thermostat. As a result, if the cooling system fails, the thermostat also could fail.
If this is the case, examine for and, if required, restore electricity to the cooling system to get the thermostat operating again.
Honeywell Thermostat Not Cooling Down the House Could Be Due to Incorrectly Aligned Thermostat
Problem
The existing temperature readout on the thermostat might not always reflect the real room temperature. Take a look at your cooling system.
The temperature on the thermostat is set to high. In that instance, it shows 66 degrees when the real room temp is 62 degrees.
Likewise, the cooling system may be putting out as much cool air as it can. As a result, it is unable to drop the room temperature even further. As a result, the thermostat seldom cools your house as significantly as you’d want.
Fixes
Purchase a reliable thermometer to accomplish this. Place it close to the thermostat after that. After that, wait for the readings to settle for half an hour.
Then make a note of the difference in temperature between the thermometer and the thermostat. There is a four-degree gap between 62 and 66 degrees in the scenario above.
Reduce the thermostat setting four degrees in the minus if the thermostat shows four degrees warmer than that of the thermometer. Set the thermostat four degrees to the positives if the temperature is four degrees colder.
Inappropriate Wired Thermostat
Problem
If you had a cooling issue after installing a new thermostat, you might well have wired it incorrectly. Maybe the W and Y wires have been switched.
Even if the thermostat is set to air cooling, this will activate the heating step. Other signs and symptoms may appear as well. This depends on which wires are connected to the incorrect thermostat terminals and how many of them are connected.
Fixes
At both endpoints of the thermostat cord, double-check for proper wiring. First, connect all wires to the proper terminals in the wall plate at the thermostat.
Then repeat the process at the furnace side. If you’re having trouble connecting these wires to the correct terminals, get assistance from a qualified HVAC handyman.
Honeywell thermostat isn’t cooling your house because it’s not level.
Problem
On outdated thermostats, inadequate leveling can influence how effectively they respond to temperature fluctuations in space.
A bimetal spring was used to measure temperature in such models. A mercury switch was affixed to the spring’s end. The spring then changed size when the ambient temperature climbed and dropped.
This turned on or off the mercury switch, bringing the room temperature closer to the thermostat’s programmed setting.
For this tilting to happen as intended, proper leveling was required. Indeed, if the cooling system is inclined too much of level, it may never cool. This is because the mercury within does not establish or break the necessary connections.
Fixes
If it isn’t already level, adjust your thermostat. Try removing the screws that anchor it to the wall if it isn’t too much off of level.
Afterward, to make it level, tilt it backward. Tighten the screws one more while holding the thermostat in place.
Make new mounting holes if the thermostat is off-level. First, remove any screws or cables that are obstructing your progress.
Now, over the new holes, reposition the thermostat. Last but not least, put the screws into the newly created holes. For a more secure grip, we recommend using wall anchors.
If you still have one, it may be appropriate to replace your mercury thermostat with a more modern unit. Thermostats nowadays have more functions and more precise sensors.
Plus, regardless of how far off level you place them, these newer ones perform nicely. In whatever posture, they’ll chill the home.
The Honeywell thermostat isn’t displaying the correct temperature.
Problem
Your living spaces can be cooled to your preferred temperature. The thermostat, on the other hand, does not indicate that temperature.
This could also happen if the thermostat is mounted on an exterior wall. The thermostat reading inside is influenced by the ambient temperature.
Alternatively, the thermostat might be located on a wall that is shared with the HVAC. In this instance, the thermostat may be affected by cooled air from the HVAC system. In some cases, your thermostat was put in an inconvenient position.
Fixes
Thermostats should always be installed on the inside of a wall. This wall should indeed be located away from any potential cooling sources.
As a result, relocate your thermostat to a more convenient location. If you must put it on an exterior wall, make sure it is adequately insulated.
Honeywell Thermostat Not Cooling Your Home Could Be Due To Wiring
Problem
If the thermostat cable is stretched too much, the solid copper wires will break. Alternatively, the cable might have been nicked because the installer used too much force or the stapler was misaligned.
This issue frequently arises during the installation of a new thermostat. However, it might take years for it to show up.
Furthermore, the shifting of wall framing can cause these wires to bend, which installers frequently do. As a result of this bending, wire covers might wear out over time, resulting in defective HVAC cooling.
Fixes
The thermostat and the HVAC unit have a cable that has to be replaced. Avoid nailing the wire too firmly, and secure it only as much as is required. Loosely place it.
Temperature Offset Between Thermostats Is Too Great
Problem
Let’s assume you’ve set the temperature at 75 degrees. Furthermore, while working at full capacity, the HVAC system can chill the house to a low of 72 degrees.
Let’s suppose you have your temperature offset set at +5 degrees. If this is the case, your thermostat will believe the room is 5 degrees hotter than it is. As a result, it may attempt to chill your home to 70 degrees rather than 75 degrees.
Because it can’t achieve a temperature of 70 degrees, the room temp never reaches the specified temperature (i.e., 75). As a result, a severe temperature offset might appear to be a Honeywell thermostat that isn’t dropping down.
Fixes
Set the temperature of the offset. This ensures that the temperature you’ve selected doesn’t exceed the capabilities of your HVAC system. A temperature offset of more than a few degrees should be avoided.
Too High or Too Low Thermostat Temperature
Problem
Thermostats can be adjusted far lower than the HVAC system’s maximum output. You may set the cold temperature to 74 degrees during a hot time, for example. However, while it’s this hot outside, your air conditioner only moves to drop to 78 degrees.
Fixes
Adjust the thermostat to a temperature that is comfortable for you. Your HVAC system can give an accurate temperature depending on current weather conditions.
However, your HVAC system may be at blame if that setting isn’t comfortable. Therefore, as said above in this text, check it for appropriate operation.
You might also increase the number of air conditioners in your home. Alternatively, you might increase the size of the main HVAC unit.
HVAC issues might cause Honeywell Thermostat Not Cooling Down Your House.
Filters and fan blades in the HVAC system are clogged.
Problem
Dirty air filters might restrict airflow through the HVAC system and throughout the home. Filters that are clogged diminish the cooling capacity of the system.
Filters and fan blades that are clogged don’t move air as well. Furthermore, they generate extra noise and, once again, limit the cooling capacity of your HVAC system.
Fixes
Change air conditioner filters on a regular basis. Additionally, engage a professional HVAC expert to inspect your system once a year.
They should brush away the dust that has accumulated within. Instruct him to clear obstructions from the cooling air handler, examine the control units for corrosion, etc.
Dirty Coils Could cause Honeywell Thermostat Hardly Cooling Down Your House.
Problem
Air circulation through the condenser outdoors and the evaporator device inside is slowed by dirty heat pump coils once again.
As a result, dirt might reduce the effectiveness of the system. In addition, the amount of BTUs a heat pump can circulate is reduced by dirty coils. That means the system might not be able to keep your room as cool as your thermostat suggests.
Fixes
The metal fins on these coils are close together. These should be steam cleaned by a professional. Alternatively, use a vacuum cleaner with a tube and bristle to suck them.
However, because the fins are sensitive, don’t bend them. Folding them too much can permanently diminish cooling airflow and, as a result, decrease the performance of your HVAC unit in cooling your home.
Frosted Evaporator Coils
Problem
Frost can form on humid days whenever the air conditioner is used the most. This might happen on the interior or outside of the device.
The ice reduces airflow across these coils. As a result, the ice obstructs the required heat exchange that allows for proper cooling.
The frosting has the same impact no matter where it occurs: it slows down the cooling process. As a result of the frost, the Honeywell thermostat may not be able to cool down.
Frosting forces your HVAC system to work more to maintain the same level of coolness. This translates to greater energy expenses and less comfort.
Fixes
For about 30 minutes to an hour, switch off the HVAC system. This permits the ice to melt away, allowing the system to resume normal functioning.
When it’s hot outside, your Honeywell thermostat may not be able to keep your home cool.
Problem
When the temperature outdoors is extremely hot, it’s usual for HVAC systems to malfunction. Despite their continual running, they are unable to keep up with the pace.
It’s possible that the thermostat isn’t broken in any way. It’s also possible that the air conditioner isn’t malfunctioning. Finally, it’s possible that the problem is that your HVAC system isn’t large enough to handle the outside heat.
Fixes
Throughout the day, shut all of the windows and curtains.
Check sure both sections of a multistage cooling system are operational.
Upgrade to at least double-paned windows if your windows are ancient or single-paned. Triple-pane windows are preferred because they provide more insulation. As a result, they keep the inside cooler.
In multistage systems, one stage isn’t working.
Problem
You could be receiving some cooling, but still not nearly enough to keep the room temperature at the desired level.
Fixes
Check to see whether the compressors are operating if the Honeywell thermostat isn’t cooling down. Examine all of the cooling system’s phases since some have many.
For example, stage one of a multistage cooling system should be turned on initially. Then, it should be set up almost immediately as the room temperature rises by a couple of degrees or so over the specified point.
Figure out why it doesn’t work if it doesn’t. For example, when the room temperature rises 2 or 3 degrees over the predetermined temperature, step 2 should activate.
If it doesn’t, this might be the reason your Honeywell thermostat isn’t cooling the house.
A defective or improperly wired changeover valve in a pumping system might possibly be the source of the problem. If this is the issue, your HVAC unit may provide heat while the thermostat is set to chill.
Is there too little insulation, or is there too much outside air coming in?
Problem
The Honeywell thermostat was barely cooling down; the problem is made even worse by the lack of insulation in your home.
Much of the cold air escapes through crevices in the windows, walls, as well as doors. As a result, the HVAC has to work more to get the house to the desired temperature.
In addition, there might be a lot of BTUs leaking in this method. There are so many that the HVAC unit can’t keep up. As a result, it is unable to sustain the specified temperature. As a result, your thermostat seldom reaches the desired cool setting.
Fixes
Locate your home’s leakiest locations. This may be done by strolling about the home and feeling for hot places. Look for openings where warm air can enter.
Then, using calking, stiffening foams, and certain other substances, fix the area. Make sure that every exhaust fan that you have already closed properly when the fan is turned off.
Replace any broken windows and doors. Single-pane windows waste a lot of electricity. We recommend that these be replaced with at least double-paned units.
Don’t overlook the basement as well. We discovered that replacing the old single-pane basement window frames with glass block units significantly improved the situation.
Our HVAC unit was relieved of a significant amount of stress as a result of the new windows. Furthermore, maintaining the fixed temperature became significantly simpler throughout a broad range of cooling levels.
In our situation, basement glass block windows helped to alleviate our Honeywell thermostat from getting cooler issues.
Another cause of your Honeywell Thermostat not cooling down your property is an inadequately sized HVAC system.
Problem
When calculating the size of an HVAC unit, some housebuilders make shortcuts to save money. They seek the lowest unit possible, which may be too tiny to regulate the cooling temperature effectively.
As a result, on extremely hot days, the Honeywell thermostat may not lower the temperature.
Furthermore, the compressors in heat pumps, in particular, degrade over time. Either that or their valves have sprung a leak. It might also happen as a result of refrigerant escaping from minor holes in the pipe.
Fixes
Check refrigerant pressure with an HVAC technician. While the compressor is running, she should monitor the head and tail pressures. Then, on a sticker inside the HVAC unit, write down the correct values for all of them.
However, if the pressure differential between the head and the tail is too little, you’ll have serious issues. This suggests the compressor valves are inadequate or the changeover valve is leaking.
It’s possible that replacing the changeover valve will be inexpensive. The compressor would, as well. This repair can be the best option as long as the device is less than 15 to 20 years old. If the system is outdated, however, it should be replaced entirely.
Honeywell Analog Thermostat Troubleshooting
Heating, ventilation, and air conditioning units are all controlled by Honeywell analog thermostats.
In addition, they have an inbuilt thermometer and temperature adjustment scale and precision snap-action controls, and the ability to install them directly to the wall.
- They also contain a dealer logo pocket that lets you use your own branding instead of the Honeywell logo.
- Check to see whether you’re trying to set the temperature higher than your HVAC system and thermostat can handle. Temperature ranges from 50 to 90 degrees on Honeywell analog thermostats.
- Turn off the electricity. Lift the lid to verify whether the configurations are proper if the fan isn’t working during a request for heat. The factory (F) preset on the fan switch within the thermostat, the switch configuration adjacent to the big wheel, must be used for gas and oil heat pumps. For electric heat pumps, move the switch to the “E” setting. Ensure that the G terminal has a fan wire attached.
- Check to see whether the heat anticipation preset is set correctly. To fit the type of system you’re using, and you’ll really have to revolve the huge wheel within the thermostat. Steam is adjusted to 1.2, and hot water is adjusted to 0.8, warm air is fixed to 0.4, and so forth. Other options may be found in the user handbook.
- Lock the cover, turn the power upon, and make sure the exterior switch is set to “Cool” for the air conditioner and “Heat” for the furnace.
- Keep in mind the thermostat is set to the proper temperature.