
If you have a thermostat installed in your space, there are chances that it may experience significant heating and cooling troubles if it isn’t working correctly, which may damage the comfort of the house and affect your budget as well. In this guide, we will talk about how to work a Honeywell thermostat.
The key to maintaining a suitable temperature in your house is by using an appropriate thermostat. There are multiple types of thermostats ranging from manual round thermostats to programmable digital models that are simple to operate and enable you to preset a weekly and daily routine.
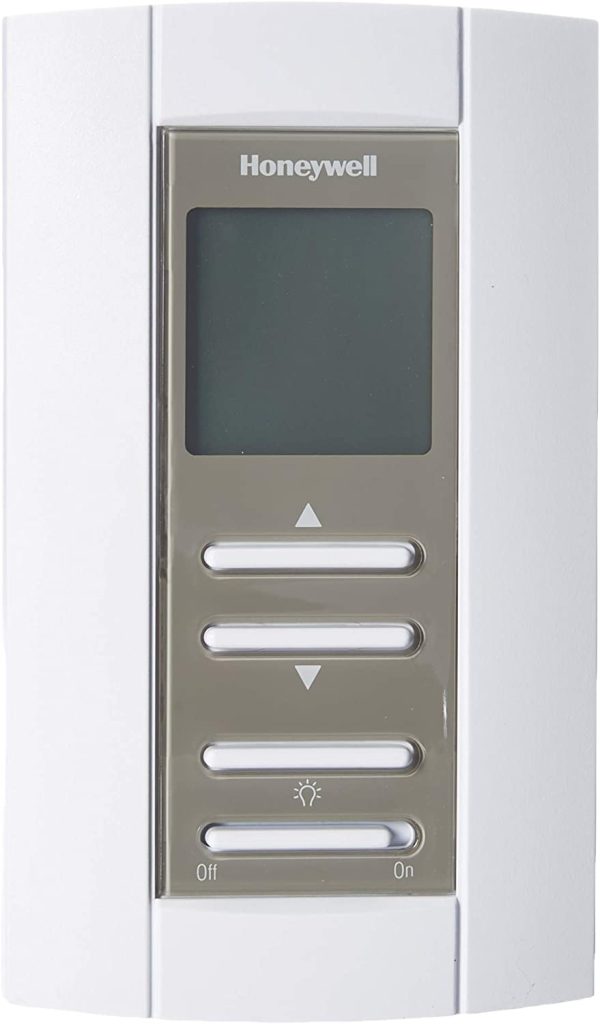
Manual Thermostats
Honeywell Manual Thermostats
The well-known circular thermostat is a manually operated variant. There could be a “System” switch in the upper left that allows you to adjust the thermostat to Heat, Cool, as well as turn Off.
It may also include a “Fan” switch that could be set to Auto or turn On.
The fan is configured to Auto mode and will only function when the heating or cooling system is turned on.
So when the fan is turned on, it runs continually. To adjust the thermostat, rotate the dial clockwise to increase the temperature and counter-clockwise to reduce it.
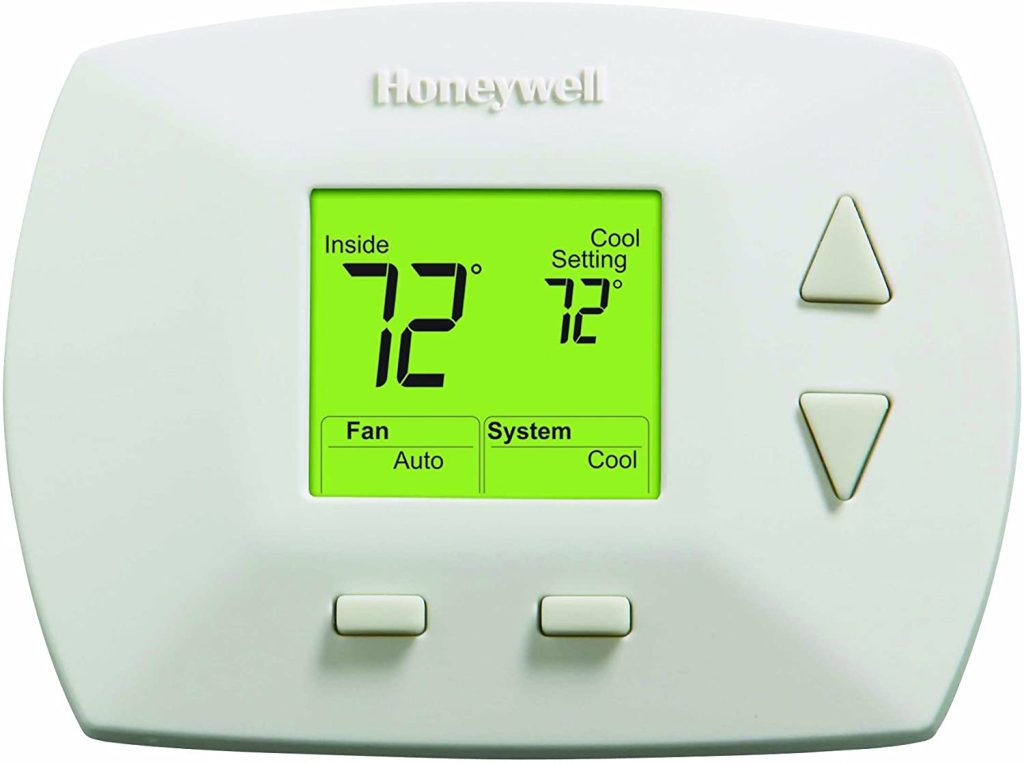
Non-Programmable Thermostats
The Honeywell 5000, for example, is just a basic digital thermostat that allows you to choose a single setting for heating or even cooling.
However, if you wish to have a warmer or colder residence, you must manually adjust the temperature.
To backlit display the screen, click any button. To turn the fan on or off, press the “Fan” button.
To set the thermostat to Heat, Cool, or Off, press the “System” button. To modify the setting, press the button once more. The setting you’ve chosen will be shown on the screen.
The temperature settings are controlled via the up and down arrow controls on the right part of the screen. For example, to adjust the thermostat to a higher temperature setting, click the up button, and click the down button to reduce the temperature.
Programmable Thermostats
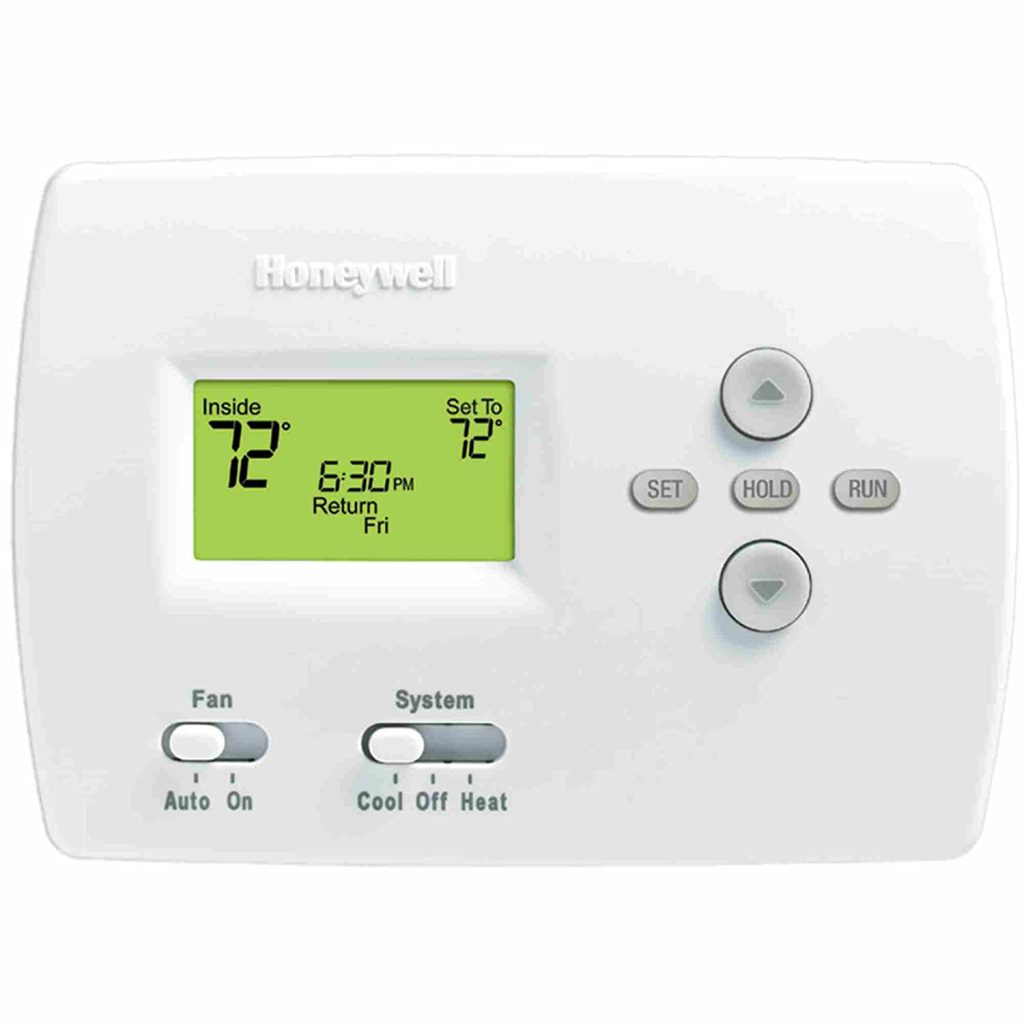
Programmable thermostats, like the CT3200, T8011, RTH230B, and T8112D, enable you to program a heating and cooling plan seven days in advance.
As a result, you may reduce your heating and cooling energy bills by reducing or boosting the temperature at nighttime or while you aren’t at home.
Whereas these buttons on the surface of the thermostat may be in various places, and “Fan” and “System” may be switches rather than buttons, creating a weekly plan is a common approach.
How to Set the Date and Time In Honeywell Thermostats?
Identify and push the “Set Clock/Day” button. The current time will be shown on the screen. Hold down the “Ahead” or “Back” key until the proper time shows. Take note of whether the time is AM or PM, then continue to press the button down if required until the time is accurate.
Select “Set Clock/Day” from the drop-down menu. The display will show the day of the week. Next, press and hold the “Ahead” / “Back” button until you reach the required day.
To change the time and date, push the “Run Program” button once. For example, to merely modify the time for Daylight Saving Time or Standard Time, program the time and afterward, click “Run Program.”
Steps To Program The Honeywell Thermostat – How To Work A Honeywell Thermostat
The thermostat has four settings available five days a week: Wake, Leave, Return, and Sleep. However, most of these models only include Wake and Sleep options on the weekends.
Before configuring the daily or weekend plan, set the thermostat to heat or cool. Once the “Set Schedule” button has been pressed, release it. Wake, Monday-Friday, and Set will be shown.
Configure the Wake time with the Time controls. The temperature may then be adjusted using the Temp controls. To change the programming to Leave, choose “Set Schedule.” Repetition of the Leave, Return, as well as Sleep procedures, is required.
Tap “Set Schedule” until Sat-Sun is shown. Then, by using the Time and Temp buttons, you can configure the Wake schedule. Then, to apply the selected settings, click “Set Schedule” once again.
Finally, click the “Run Program” button. Unless you update the settings, the thermostat will continue to perform the program.
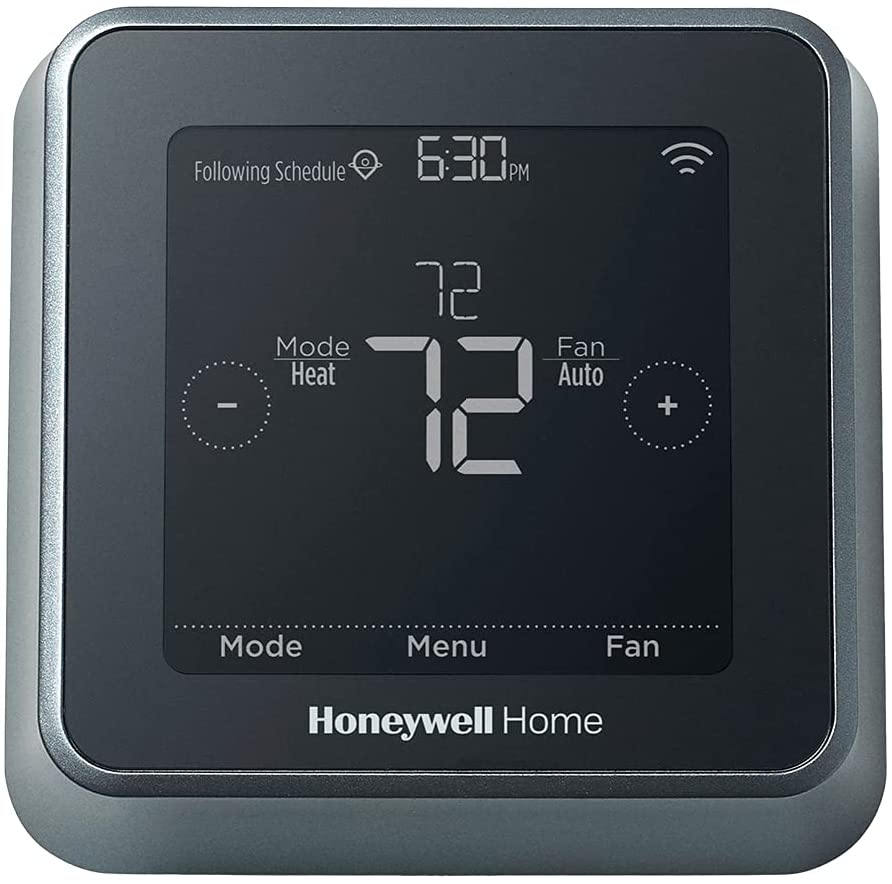
Honeywell T-6 Programmable Thermostat
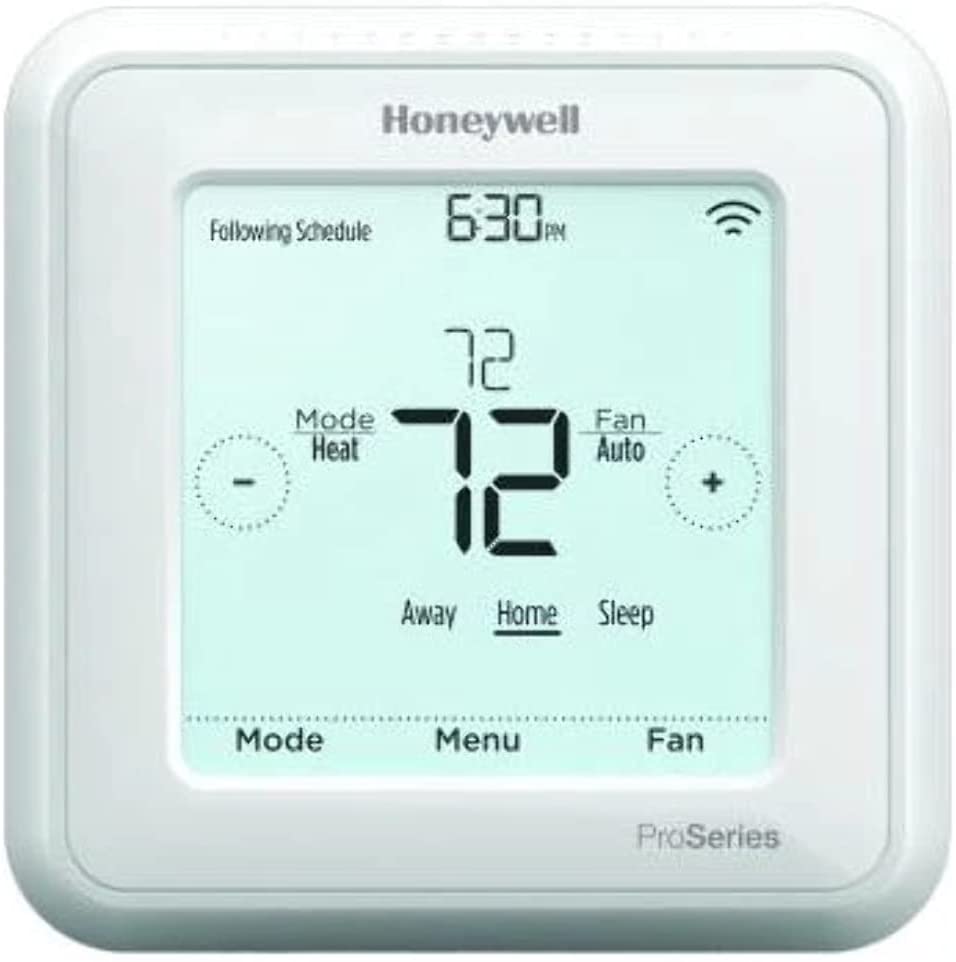
Configuration of the System
To modify system settings, press the mode button on the thermostat’s left edge. To move from heat to cool, or even to switch off all, keep pressing the mode button till you reach the chosen setting.
Temperature settings
Press the plus or negative buttons on each side of the thermostat to adjust the setting.
To modify the operation of the fan, Locate the fan button on the right side of the thermostat and click until after you’ve reached the chosen setting.
Choices for Scheduling
To make changes to existing schedule preferences, tap the menu button in the center of the screen’s base. Choose programming as the first selection that appears. It would then question if you want to select on, at which point you should hit select once more. From this, follow the directions in the owner’s handbook to schedule any preferences.
Honeywell Lyric Wi-Fi Thermostat
Configuration of the System
To start the thermostat, use the touch screen. To change from heating to cooling, or even to switch it off, tap the mode tab in the lower-left corner until you find your preferred setting.
Thermostat Temperature and Fan Speed
Press the plus and minus buttons on each side of the thermostat to adjust the temperature. To alter the fan operation, tap the fan tab in the bottom right-hand corner until you find a suitable setting.
Preferences for Scheduling
To change your schedule choices, tap the menu tab in the bottom right corner of the screen. When you arrive here, you’ll see a number of options, such as date, time, and Wi-Fi configuration. Scroll down until you locate the scheduling option, then pick it.
Honeywell 9000 Wi-Fi Thermostat
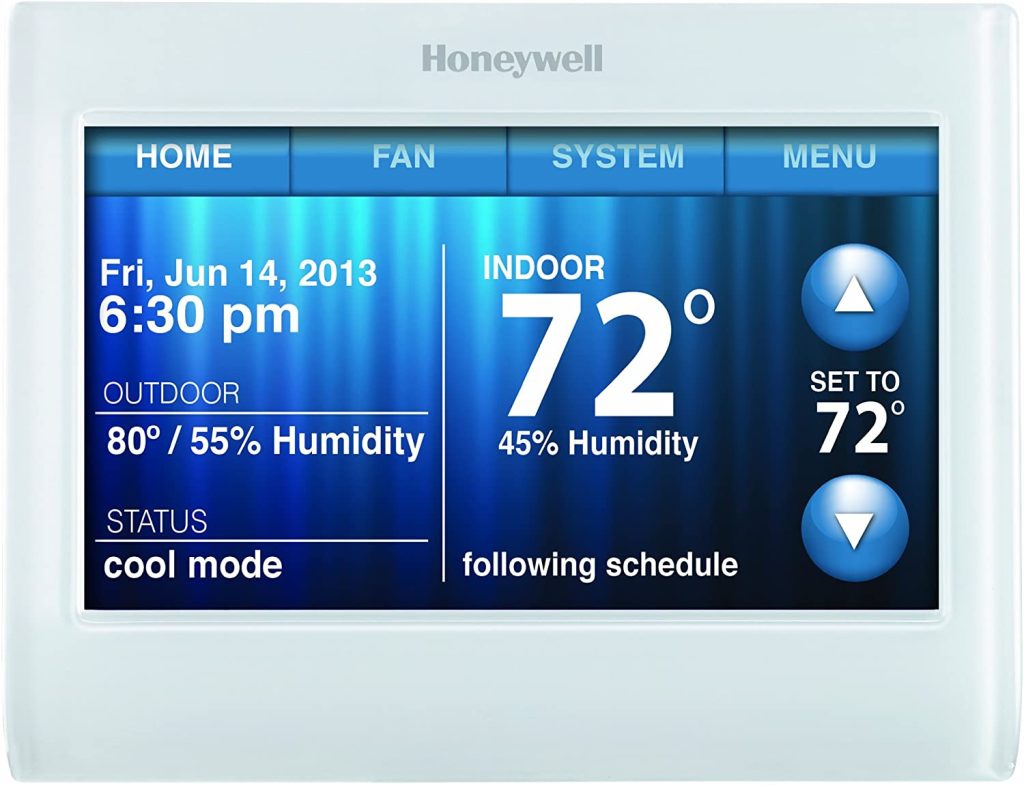
Temperature
To modify the temperature in the thermostat, click the up or down arrow.
Once you’ve determined the ideal temperature, you have two choices: temporary hold as well as permanent hold. To return to the previous screen, pick the green Done button.
Optional Fans
Your fan selections are located on the second tab. You will then be able to select from a variety of fan operations here. For example, to use the right side of the thermostat’s up and down arrows.
When you’ve decided on a fan operation, tap the green Done button to return to the home screen.
Configuring the System
System settings are located on the third tab. Touch any one of the buttons to change from heat to cool or to switch it all off. Once you’ve made your choice, tap the green Done button to return to the home screen.
Choices for Scheduling
The menu may be found on the fourth tab. When you come here, you will see a plethora of possibilities; however, what we will discuss today is the creation and editing of the schedule.
It’s incredibly helpful to have someone walk me through the scheduling alternatives. Then, when you touch it, it will walk you through the process of scheduling the thermostat.
How to Use Honeywell Thermostat?
1. Become acquainted with your thermostat.
Honeywell manufactures an extensive line of high-quality thermostats. Begin by going through the user manual for the Honeywell thermostat. Next, examine the keypad and display for a few moments. Finally, fill in any customized settings or programs that you like. If you have any issues, consult Honeywell customer support or an HVAC professional.
Choose between professional or do-it-yourself installation. Depending on what type of thermostat you purchase, you might well be able to choose an installation choice. Nevertheless, if you select personal installation, you must properly follow the procedure since certain thermostats need direct wiring to high voltage power connections.
Certain Honeywell thermostats have specific technological needs, which an HVAC professional can handle. You can find one in your local area by doing a google search.
First, thoroughly read the user’s guide. Your thermostat will arrive with a printed handbook. However, you may obtain a paper version as well as download a digital version from the Honeywell site’s Resources Section. A downloaded application is also available for several of the newer thermostats for assistance.
Review the instruction manual prior to actually calling for help. For particular problems, you could find the solution in the troubleshooting area.
Download any applications that are necessary. For example, for daily operation, certain Honeywell thermostats need you to install and utilize an application. If that’s the scenario, the user guide will mention it. Lyric thermostats, for instance, recommend using Apple’s HomeKit for setup and operation.
Before you buy a thermostat, think about what other gadgets you have. For example, the Lyric application does not operate with Blackberry smartphones.
Examine the pre-programmed options. A large percentage of Honeywell thermostats are factory hardcoded. Check over them to identify the ones you’d prefer to modify as well as which ones are fine the way they are. The day and time, fan setting, system configuration, numerous schedules, and temperature controls, for instance, may have already been enabled and are pending further update.
Recognize and get familiar with all of the functions on the buttons. Examine the thermostat’s control pad, paying special focus to the keys that are immediately apparent, as well as every button that is buried under a flap. At a minimum, one temperature setting button, a hold tab, an override tab, and several function keys are likely to be included.
Recognize the display readings as well. When you touch any of the buttons, the changes are logged and shown on the screen if the thermostat has one. The screen will also reflect any scheduled schedule adjustments as they occur. It would be best if you also got into the routine of monitoring the display for any cautions, including a battery swap indication.
2. Customizing the Settings
If necessary, configure the timing and day. This is a critical modification to implement right away because the hour will influence many of the thermostats presets. Review the user guide and follow the steps outlined in it to make this modification. You’ll probably need to hit a “Set Clock” button, navigate to the appropriate numbers, and afterward confirm the adjustments by clicking the “Done” icon.
If necessary, change the fan setting. In most cases, you’ll find two options for fan settings: Auto or On. When the thermostat is configured to “Auto,” your fan will function only while it is needed when linked to the heat or cool system. Depending on the heat or cool options, if the thermostat is turned to “On,” the fan will continue to operate.
Make any necessary adjustments to the system’s basic configurations. Heat, Cool, Off, or Auto are the primary options in this area. The “Heat” button turns on the heat, while the “Cool” button turns on the air conditioning. All thermostat systems are turned off with the “Off” option. Certain thermostats include the “Auto” mode, which manages the temperature systems based on the program schedule selections.
Create a timetable for your programs. There is a multitude of schedules to pick from or customize based on what Honeywell thermostat you have. For example, you may program the system to turn on at specific times throughout the day or select various temperature settings for separate days. You may also set up an energy-savings mode, which allows the system to run at a reduced level when you’re not even at home.
See how to change the program’s settings. Typically, you may override an existing program by pushing the up or down arrow on the control unit. Then, based on whatever button you press, it will either heat or lower the temperature. To cancel the whole schedule, go to program settings and follow the directions in the thermostat’s user manual.
Voice commands are also available. You may speak directly with the control panel via Amazon Echo with select Honeywell thermostats, such as the Lyric. You can link the gadgets using your SmartHome application, and subsequently, just tell Echo what you want.
Geofencing is a technique for limiting access to a certain area. You’ll require a Wi-Fi-equipped thermostat that can link to the phone to do this. Furthermore, to put in place a geofence around the perimeter of the home, follow the instructions. When you leave this area, the thermostat will shift to away mode.
3. Fixing Any Issues or Problems
If required, be ready to switch to manual mode. If the electricity goes out, plenty of the thermostat’s “smart” settings will be lost. In the event of a power outage, many Honeywell thermostats will immediately turn to manual mode. They’ll use their battery to power themselves and work as per pre-configured parameters.
Take a closer look at the troubleshooting instructions. Study the FAQs and troubleshooting areas at the back of the print handbook or on the Honeywell website. If you have any problems with the system, these sections will be of assistance to you. Both instructions cover a wide range of issues, including what to do if your screen won’t turn on.
Pay some attention to the reminders for routine maintenance. If certain maintenance components are necessary, your system will often display a message on the keypad. For example, you’ll probably need to charge your battery packs every year, and your HVAC systems filter far more frequently. In addition, routine maintenance will extend the life of the thermostat and complete the system.
Go to the online help section. Honeywell has a live chat feature on its website, or you may contact Customer Care at 1-800-468-1502. Keep in mind the model number of the thermostat so you can receive better help. Any other information you can share about the troubles you’ve had would also be beneficial.
Seek expert help. If you’re having trouble using your thermostat, it could be a good idea to get assistance from an HVAC professional. Insert your city and “HVAC technician” into a web browser to locate a specialist in your region. Make careful to find one that has recently received favorable feedback.
Why Is My Honeywell Thermostat Not Working: Troubleshooting.
Thermostats have become a must-have if you want to keep your house at a suitable temperature. Nevertheless, like so many other household types of equipment, thermostats might fail due to a hardware/software fault.
If the Honeywell Thermostat isn’t operating properly, try replacing the batteries or conducting a factory reset.
Blank Display
If you have a programmed thermostat, change the batteries to resolve the problem. If, on the other end, you own a manual or smart thermostat, keep in mind the electrical wiring is not tampered with.
Additionally, ensure that the electricity to the air handling unit and the furnace is switched on and that the air handler doors, and even the furnace doors, are snugly closed.
If the problem remains, the thermostat may need to be replaced. However, troubleshooting will not resolve blank display difficulties.
Cool On/Off is blinking.
The ‘Cool On’ and ‘Heat On’ indications indicate which system is now active. If your thermostat is turned off, none of the signs will appear.
Don’t panic if the “Cool On” or “Heat On” indicators are blinking; the system is on a five-minute delay. The ‘compressor protection timer’ is a built-in safety precaution.
If the electricity goes off and then comes back on unexpectedly, it protects the thermostat from a short circuit.
Examine the Thermostat’s Interior
If your heat or air conditioning won’t come on, there might be a problem with the thermostat itself. After that, you’ll want to switch off the electrical switch that regulates the device. After switching off the thermostat, gently lift the lid and inspect the wiring within. It would be helpful if you double-checked everything for cleanliness. And if it all appears to be in order, your HVAC unit may be malfunctioning, or it could just be necessary to replace the thermostat.
Troubleshooting Honeywell Thermostat
Honeywell thermostats are quite simple to repair. However, suppose you’ve tested the batteries, connections, and furnace door and still can’t find a problem. In that case, the thermostat is either broken, or you’re not adjusting the temperature high or low enough.
Use the permanent hold approach to check that the system’s heat and cool settings are correct.
Simply press and hold the ‘Up’ or ‘Down’ arrows and the ‘Switch to Permanent Hold’ button for many seconds.
This will automatically adjust the thermostat to a setting that is above or below the outside temperature.
Replace batteries
In most situations, replacing the batteries restores the system’s original settings, removing any difficulties caused by software faults.
- Unplug the thermostat’s cables. When reconnecting, be certain you don’t mix them up.
- Disconnect the gadget from the wall plate and set it aside.
- Start by removing the batteries and wait 5 minutes before replacing them.
- Replacing the batteries and reconnecting the cables are the next steps.
- Wait for 5 minutes after turning on the system.
Lookout for any power disruptions
Connectivity issues account for the majority of consumer complaints regarding thermostats not operating properly.
Either of the lines is damaged, or there is a power outage.
As a result, if your Honeywell thermostat isn’t working, double-check that the wiring is intact and that electricity is being supplied.
Also, make sure the air handling unit or furnace doors are closed. If either of the doors is not correctly closed, the Honeywell system activates a safety function.
The HVAC system will shut down if this option is activated.
Flickering Cool On light
If the ‘Cool On’ light is flickering, it usually implies the system is kicking on, and the safety schedule has been activated to protect the thermostat’s compressor from failing.
You won’t have to conduct any troubleshooting in this situation. After 5 minutes, the safety function switches off automatically.
Nevertheless, if it does not switch off properly, you could perform the following:
- Set the thermostat to the lowest possible level. Make sure the fan is on Auto as well.
- Ascertain that the thermostat timer is not in setup mode and is switched off.
- Examine the low battery indication to see whether it’s turned on.
- Check to see if all of the furnace’s vents are closed.
- Check to see if the air conditioning filter is clogged.
- Examine the AC coils to see whether they are clogged.
- Use the above-mentioned battery swap procedure to reset it, or go to the menu and select the factory reset mode. Only smart thermostats will be able to use it.
Heat On Light Is Continuously Flashing
If the ‘Heat On’ light is flashing, it implies that the thermostat’s safety timer has been activated to protect the compressor from failing.
You do not need to undertake any troubleshooting in this scenario. After 5 minutes, the safety function automatically shuts off.
Nevertheless, if it does not shut off instantly, you can perform the following:
- Set the thermostat to the coldest level available. Also, keep in mind the fan is adjusted to Auto.
- Check that the thermostat timer is switched off and not in setup mode.
- Check to see whether the low battery indication is on.
- Check that all furnace openings are closed.
- Reset it via the above-mentioned battery replacement procedure or by finding the factory reset feature in the menu. The latter will solely function with smart thermostats.