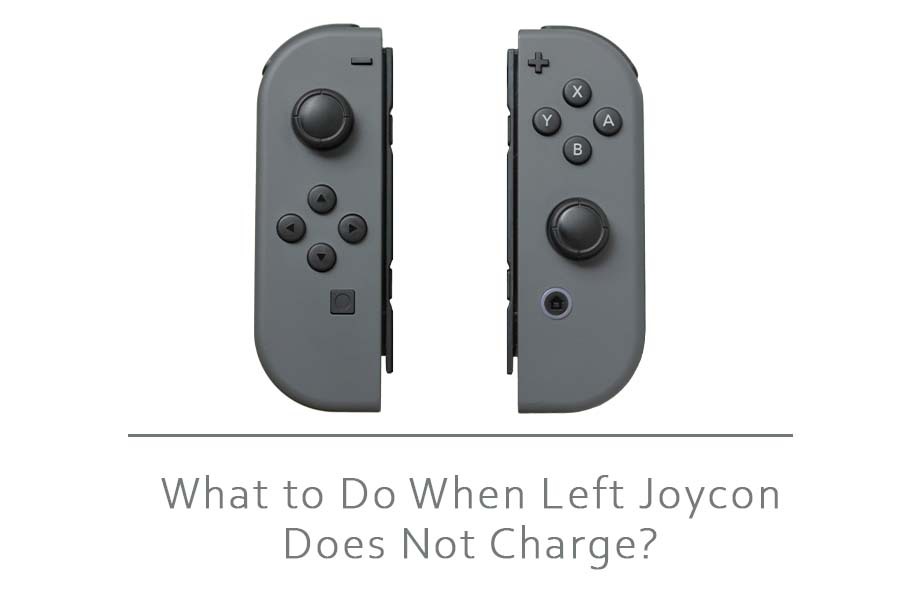
Several users have raised this issue where their left Joycon was not charging. They have reported that changing their switch shell and connecting the left Joycon didn’t charge, even after leaving it connected overnight.
We also observed that problems usually occurred with the left Joycon, whereas the right one worked fine.
Many other users on the same platform who faced a similar situation but eventually found the solution gave their tips to help.
Some of which were quite basic such as replacing the old batteries on the Joycon with fresh ones. A few of them also found that the wiring inside their Joycon was messed up, which led to the left Joycon not charging.
In this article, we will cover all the possible reasons why your left Joycon is not charging the way it should.
We will also be listing all the possible solutions for you to troubleshoot and fix the issues you are having with your Joycon.
How Can I Fix My Left Joycon Not Charging?
Try Cleaning the Dirty Ports
This could be the very basic and negligible reason as to why your Joycon is not charging. However, many users have also complained that they could not connect their Joycon to the Nintendo switch properly.
This is why users have been experiencing charging issues since the Joycon could not get a connection or charge through the console.
The dirty ports and the dust accumulating often cause the Joycon to not connect to the console for charging.
Usually, users ignore the dirty ports and do not clean them, which causes their Joycon to restrict its functions. Therefore, the Nintendo Switch should be thoroughly cleaned once a week.
Cleaning the port is quite simple. First, you get a piece of cotton or tissue paper, then gently dust the dirt particles off the Nintendo Switch port.
It would be best not to put too much pressure as it can impair the connector’s pins on your device. If the pins are damaged, then you might have to invest in repairs. Once you have cleaned both sides of the port properly, try aligning the rails.
This should certainly get your Joycon to charge again.
Try Resyncing
Once you have cleaned the pins of ports and the Joycon is not charging, the next thing you can try is resyncing the Joycon controller with the console.
To resync the controller, you will have to remove it from the console. Now press the sync button, which is located on the connected side of the console.
After you have taken the Nintendo console out from the docking station, you can shut it down. After you shut the Nintendo down, wait for a while and then turn it back on.
Now, put it on the dock, and then you can attach the Joycon leaving it on for charging for some hours.
It might be possible that the battery status is not visible. Still, you should leave the console on the dock for about 4 hours. Then, check the console after 4 hours.
By now, it must have been fully charged, and you can access all games without any hassle. If you still don’t see the accurate battery status, you can remove and connect the Joycon to the console a few times.
Try Updating the Firmware
Some customers also reported that the reason for the left Joycon not charging is some issue with the console’s firmware. This causes the battery indicator not to show the accurate battery status.
Sometimes, even when the Joycon is fully charged, the indicator will display a low battery status in the connected controller.
We suggest you update the existing firmware or install a new one for your console and the controller connected to it to avoid such an event.
Just go to the settings on the console and then check for updates. To update the firmware of your Nintendo Switch, you have to boot it and navigate the system settings.
The very first option in the tab is the software update. Now, click on software settings and then wait till the console searches for updates.
Once an update is found, you should install it in your console. For updating the firmware of the controllers, you can go to controller settings and look for updates.
Just ensure that all of your firmware is updated and installed before you try to charge the Joycon again.
Try Using the Joy-Con Grip
If your Joycon still isn’t charging the way it should, we suggest you change the method of charging to help you fix the issue you are facing.
This solution is recommended for users who cannot charge the controller after connecting the Joycon with the Nintendo switch on the dock.
In such a scenario, remove the JoyCon from the console. Then attach it with the grip, connected to the power port. Now, leave the Joycon for about three hours. This will most probably fix your JoyCon charging issue.
You should also check the power source as well as your adaptor. There is a significant possibility that there is some hardware issue with the Joycon. This is probably why you can’t get it to charge.
Now, change the power adapter and look for any damages on the connected cable to the dock.
Users have reported a few instances where they fixed the charging issue of their Joycon simply by unplugging the power adapter and then re-plugging it back in.
Warranty Claim
By now, your JoyCon should start charging. In case none of the ways listed above get the help you fix your issues of left Joycon Not Charging.
You can get it replaced with a new one if it is still under warranty period.
Contact the retailer from whom you bought the device and explain to him the issues with charging your JoyCon.
If you own Alexa-compatible devices, don’t forget to check out our blog on How To Use Alexa Conveniently?
