A Honeywell thermostat with different advanced models is essential for obtaining a comfortable temperature in your home.
Honeywell thermostat models, from manual round thermostats to programmable digital thermostats, are comparatively simple to operate and let you set a daily or weekly schedule.
How to use Honeywell Manual Thermostat?
Honeywell round thermostats are considered manual models. You will see a “System” switch in the upper left corner to set the thermostat temperature on Cool, Heat, or Off mode.
The manual also comes with a Fan switch which can be used to set the Thermostat to Auto mode or On.
Once you set the thermostat on Auto mode, the fan will operate automatically whenever the air conditioning or heating is turned on.
If you want the fan to operate continuously, you can set it to ‘On’. This can easily be done by turning the dial clockwise and adjusting the temperature according to your requirements.
To set the thermostat to a lower temperature all you need to do is turn it counterclockwise.
How to use Honeywell Thermostat Pro Series/Digital Thermostats?
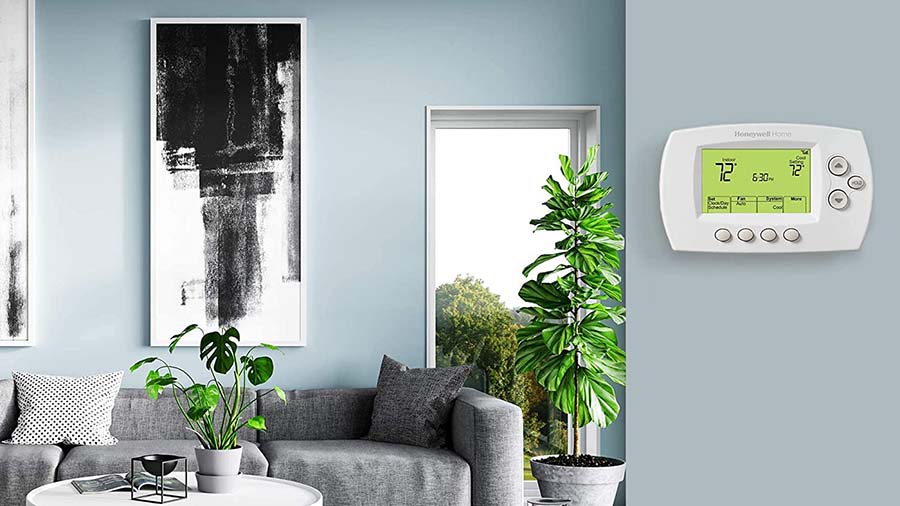
Basic digital thermostats, such as the Honeywell Thermostat pro series 2000, 3000 (TH3110D1008 and TH3210D1004), 5000 (TH5110D, TH5220D, and TH5320U), 6000 (TH6110D, TH6220D, and TH6320U), and 8000 (TH8110U, TH8320U, and TH8321U), let you set one temperature for cooling and heating.
However, to set the temperature according to your requirement, you need to change it manually to turn it to warmer or cooler.
It would help if you pressed any button on the Thermostat to light up the screen. Now press the ‘Fan’ button and set it on Auto or On.
Now press the button with ‘System’ on it and put the Thermostat on Cool, Heat, or Off mode. Finally, it would help to change the settings if you pushed the button.
You will see the settings you have selected on display.
On the right side of the thermostat display, you will see that the up and the down arrows button control the temperature settings.
Now press the up-arrow button and set a higher temperature on the Thermostat. You can push the down arrow button to select a lower temperature.

How to use Honeywell Round Thermostat/Non-Programmable Thermostats?
Turn the dial on your round thermostat to set your desired temperature. The fan will only operate when the air conditioning or heating is on and when the fan is set to Auto.
If you need the fan to work continuously, you have to set it to On. For setting the Thermostat, you need to turn the dial clockwise and raise the temperature accordingly.
If you wish to lower the temperature, you need to turn it counterclockwise.
How to use Programmable Honeywell Thermostats?
Programmable Honeywell thermostats, such as the CT3200, TH3110D1008, and TH3210D1004, or RTH230B, allow you to set an automatic seven-day heating or cooling schedule.
As a result, you can save on your heating and cooling energy costs by lowering or raising the temperature at night or when you aren’t home.
While the buttons may be in different locations on the face of the Thermostat, and “Fan” and “System” may be a switch rather than a button, programming the weekly schedule is a similar process.
Set the Date and Time
- Locate the “Set Clock/Day” button and press it. The time will appear on display.
- Press and hold the “Ahead” or “Back” button until the correct time appears. Note if it is AM or PM and continue holding the button down, if necessary, until the time is right.
- Press on the “Set Clock/Day” button. The day of the week will appear on display. Press “Ahead” or “Back” and hold the button down until you reach the correct day.
- Press the “Run Program” button once to set the time and date. For example, to change the time only for Daylight Savings or Standard time, program the time and then press on “Run Program.”
Program the Thermostat
The Thermostat gives you four settings for five days a week: Wake, Leave, Return and Sleep. On the weekend, most models only give you Wake and Sleep stages.
- Set the Thermostat to Heat or Cool before programming the daily or weekend schedule. Press the “Set Schedule” button once. The display will show Wake, Mon-Fri, and Set.
- Use the Time buttons to set the Wake time. Then use the Temp buttons to set the temperature. Finally, press “Set Schedule” to move the programming to Leave. Repeat the process for Leave, Return, and Sleep.
- Press “Set Schedule” until Sat-Sun appears. Set the Wake schedule by using the Time and Temp buttons. Press “Set Schedule” again to set the chosen settings.
- Lastly, press the “Run Program” button. The Thermostat will run the program until you change the settings.
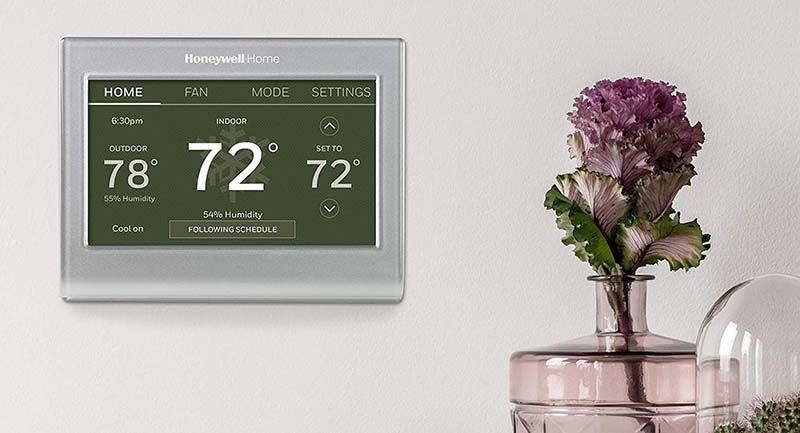
How to use the Honeywell wi-fi smart color silver thermostat with wi-fi compatibility?
- Select your system type and touch Next. The system type determines other selections for completing the initial setup.
- Touch Next after making selections on each screen.
- Touch Done on the last screen. The Thermostat displays an option to connect to your wi-fi network.
- Touch the orange Help button on any screen for more information.
Connecting the Thermostat from your wi-fi network
After touching Done on the final screen of the initial setup, the Thermostat displays an option to connect to your wi-fi network.
- Connect the wi-fi network
Touch Yes to connect the Thermostat to your wi-fi network. Next, the screen displays the message “Searching for wireless networks. Now, wait, after which it shows a list of all wi-fi networks it can find.
Note: If you cannot complete this step now, touch I’ll do it later. The Thermostat will display the home screen. Complete this process by selecting SETTINGS > wi-fi Setup.
- Select the network
Touch the name of the network you want to use. The Thermostat displays a password page.
Note: Touch Rescan if your home network is not shown on the list.
- Touch the characters that spell out your home network password using the keyboard.
- Touch Done. The thermostat displays “Connecting to your network. Please wait…” then shows a “Connection Successful” screen.
- Touch OK to display the registration information screen.
- Note your Thermostat MAC and Thermostat CRC. You need these numbers to complete online registration.
To register your Thermostat, follow the instructions.
Note: The Register Online screen remains active until your complete registration or touch is Done.
Note: If you touch Done before registering online, your home screen displays an orange alert button telling you to register. Handling that button displays registration information and an option to snooze the task.
Disconnecting the Thermostat from your wi-fi network
- Touch SETTINGS.
- Select wi-fi Setup.
- Touch Disconnect from Network. The Thermostat will display a question to confirm your selection.
- Touch Yes to ensure that you want to disconnect from the network. The Thermostat will display the wi-fi Setup screen.
- Touch OK to display the menu.
